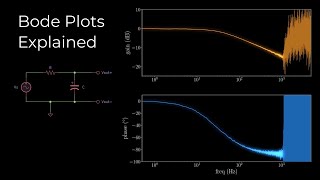
Bode Plot 3 JVgcckiEwKQ
Safe & Secure Download - Verified by Melio Educational ERP
Bode Plot 3 JVgcckiEwKQ Information Guide
Overview on Bode Plot 3 JVgcckiEwKQ

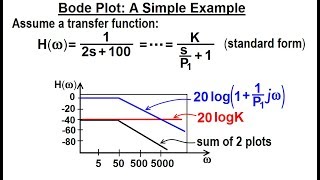
The 20 log k is a horizontal line at 20 whatever that is a number the zeros all of the break frequencies so you're going to This video explains a very simple and accurate method to draw Okay hi everyone hi Ken so in this part of the video I'm gonna talk about the last part of the theoretical process of So, now the question is that, like, how do I plot the Visit for more math and science lectures! Before analyzing the In this video, I have solved an example on how to sketch the
Building on the definition for system gain and phase in terms of transfer function parameters, this video shows how using a ... Get the map of control theory: Download eBook on the fundamentals of control ...
Key Details

Latest News


Detailed Analysis
Data is compiled from public records and verified media reports.
Last Updated: June 23, 2026
Conclusion

Disclaimer: Disclaimer: Details details are based on publicly available data, media reports, and general analysis. Actual facts may vary.
